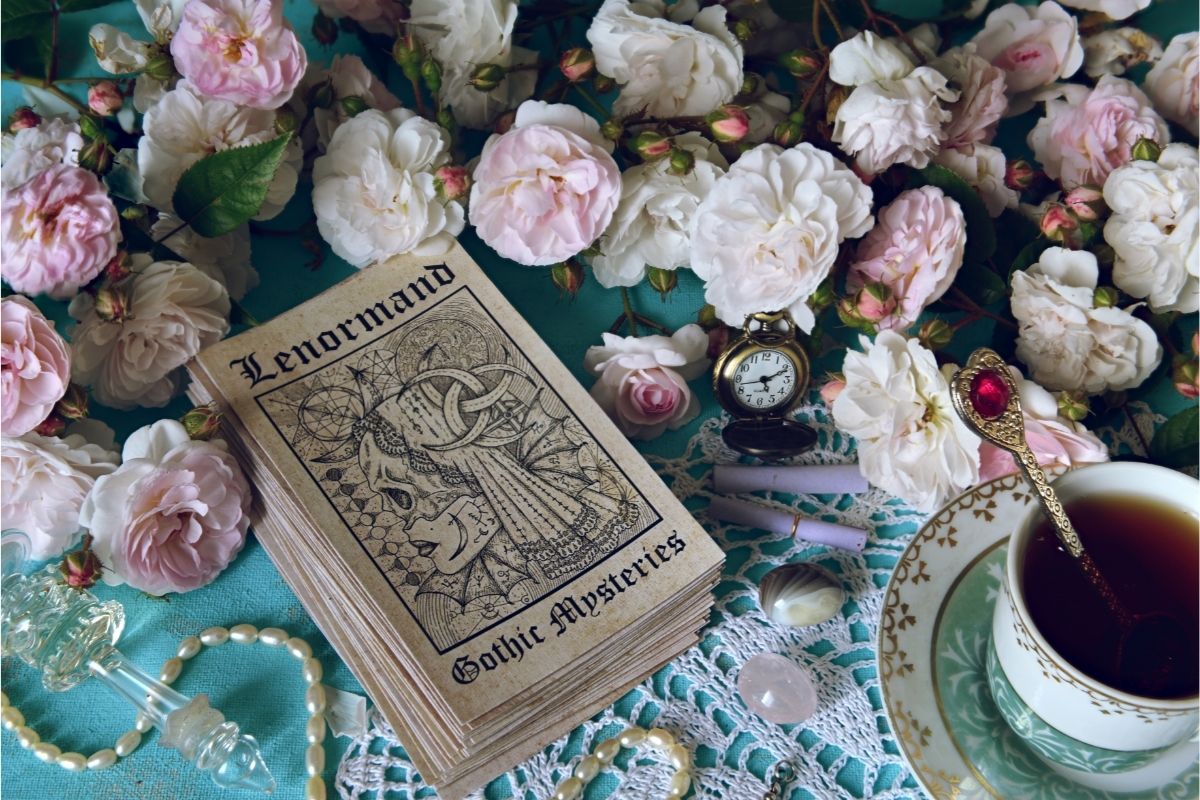
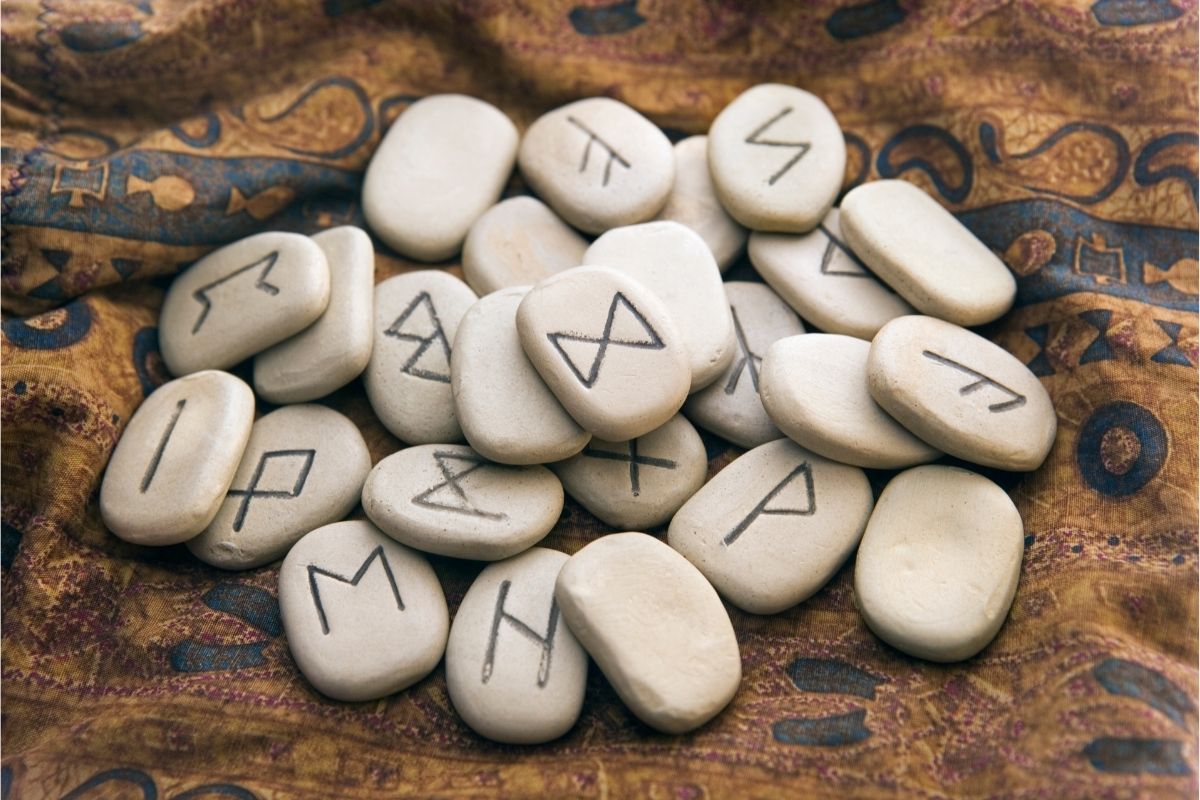
Runes are one of the best forms of spiritual tools for beginners. These powerful symbols can be used for a variety of purposes, from protection to divination.
Not only that, but it’s actually easy to make your own rune set at home using just a few natural materials!
If you’re interested in learning how to make runes, then you’re in luck!
In this handy guide, we’ll take you through everything there is to know about making runes, from the materials you should use to how to activate a rune set. So let’s dive right in!
What Are Runes?
Before you can start making your own rune set, it’s important to know just what exactly runes are. The word “rune” comes from the Old Norse language and means “to carve or inscribe.”
A rune is basically any symbol or letter that has been carved into wood, stone, metal, etc., with the intention of being activated by heat, fire, water, or other methods.
Runes were often used as protective amulets during ancient times, and they continue to hold their power today. They can be used for all kinds of different things, including:
- Protection
- Divination
- Healing
- Manifestation
- And much, much more!
Runes are engraved into different materials to produce these effects, with different symbols and materials combining to form powerful spiritual mediums.
How To Make Your Own Rune Set
Now that you understand what runes are, it’s time to learn how to make them yourself! There are many ways to create your own rune set, so you need to find the method that works best for you.
Some people prefer to use traditionally used runes, while others prefer to draw out their own designs on paper first. Whichever method you choose, here are some basic steps to follow:
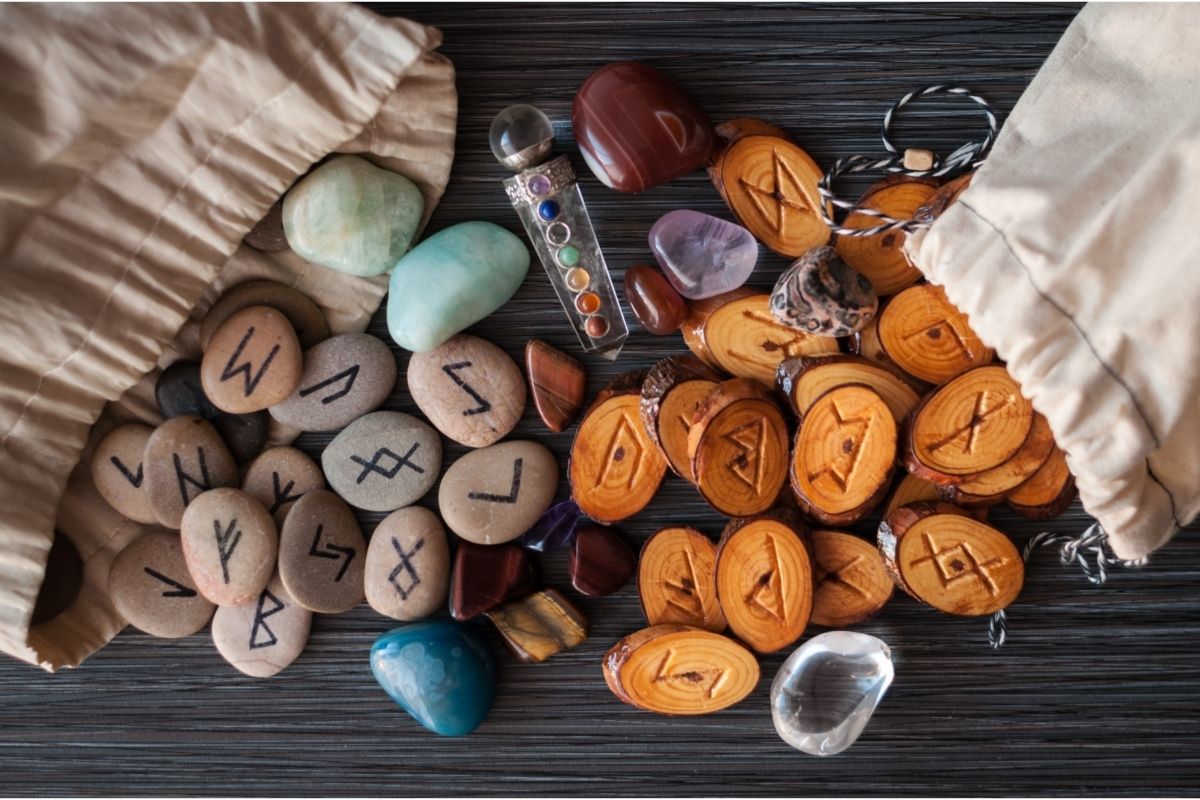
1. Choose Your Materials
The most important thing when creating a rune set is choosing the correct materials. The best materials for runes are natural ones.
These allow the power of nature to channel through the rune and produce strong effects.
Runes were traditionally carved into the branches of trees, although you can use many other materials such as stones, crystals, and even bone!
Softer materials like wood are the easiest to work with, however, and you should avoid using hard materials like stone or crystal unless you have the right tools to engrave them with.
2. Draw Out Your Design
Once you’ve chosen your materials, it’s time to get creative! You don’t necessarily need to stick to traditional designs, so feel free to experiment with whatever runes inspire you.
It’s also helpful to think about what kind of effect you want to achieve with each rune.
For example, if you want to protect yourself against negative energy, then you might want to include a pentagram and an eye within your design.
If you want to manifest something specific, then you might want a star inside a circle. Whatever you decide, just remember to keep it simple.
Try not to overcomplicate things! If you’re a beginner making their first rune set, you’re probably better off sticking to an existing set of runes.
3. Engrave Your Designs Into Your Material
Once you’ve drawn out your design, it’s time to start engraving it into your material. This step is very important because it allows the rune to connect directly with the source of its power.
The simplest way to do this is to simply carve the design into the material with a whittling knife or another sharp implement.
However, there are other ways to do this; for instance, you can burn the design with an electric engraving tool, or simply paint the design on.
Just make sure that you’re careful around fire and electricity – both can damage the rune and ruin its potential.
4. Clean Up And Seal Your Work
After you’ve finished carving your design, clean up any stray pieces of material and seal the whole piece in resin to preserve it.
Resin is a great medium for preserving runes because it’s waterproof and protects the design from fading.
This is especially useful for harder materials like stone or crystal that will fade faster, or for runes that you have painted on. Once you’ve sealed your work, store it away until you’re ready to use it.
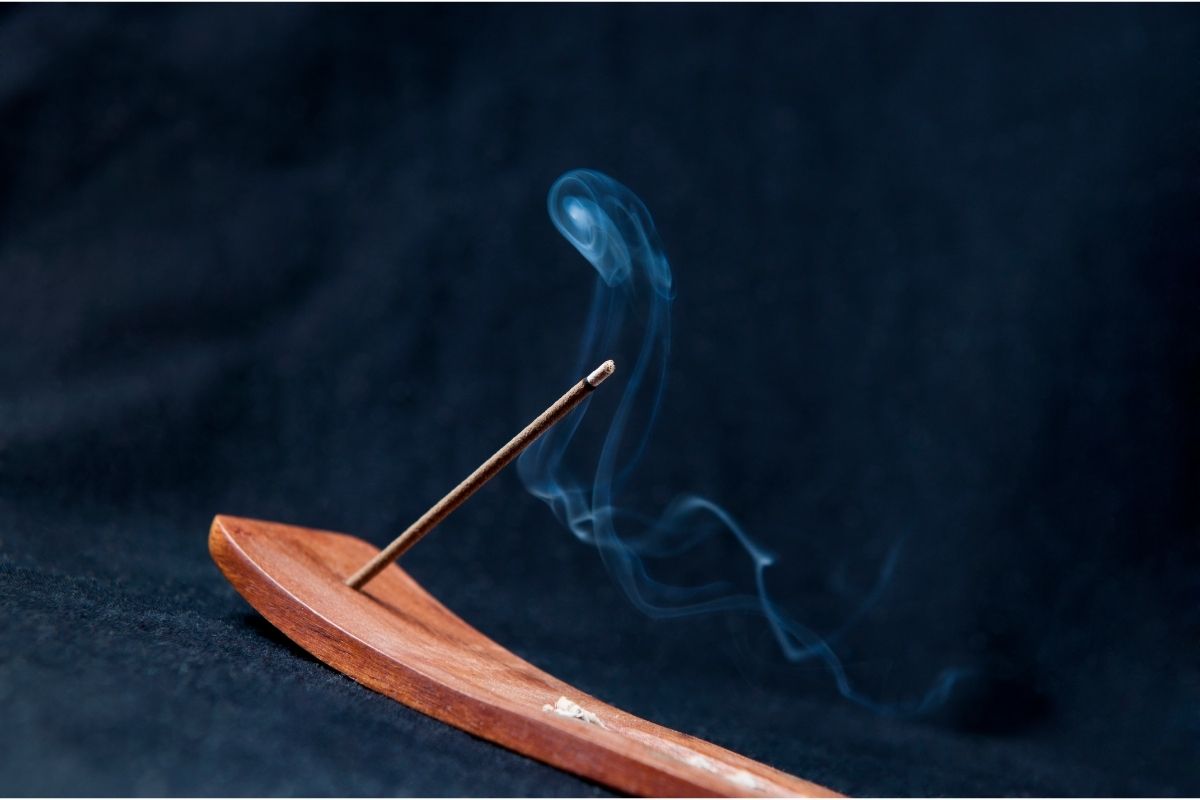
5. Activate Your Rune
When you want to gain the effect of your rune set, you’ll need to activate it.
There are several ways you can do this; not every method will work for everybody, and there isn’t a clear agreement on which activation technique is the best.
One of the most common ways that people activate or consecrate their runes is through meditation.
To do this, you need to meditate with your runes in hand. Say the name of the rune repeatedly as you hold it.
Thinking about the effect you wish to gain from and the powers of the rune and its material combined. This is also often done with the assistance of candles, incense, or other similar things.
When your runes have been activated, you will begin to experience their effects.
Some ways for you to benefit from your rune set is to keep the engraved object with you in a pocket or bag, or to keep it next to your bed while you sleep.
This latter method is great for runes that are meant to revitalize your spirit and recharge your energies.
We know that you, like us, are fascinated by all the intangible things that make life magical
Final Thoughts
And there you have it – you’ve just made your first rune set! If you aren’t confident enough to carve your own runes, then there is nothing wrong with just buying a rune set instead.
With that said, however, creating your own runes will help you form a deeper connection with them and the materials you use, which can let you get more power from them.
Making your own runes is a great way to connect and harness the energies they produce. So now that you know how to make runes, all you need to do now is give it a go yourself. Have fun!

Everyday Insight
Richard Pryn, the man behind Everyday Insight, is a professional composer and has always been fascinated with the esoteric & spiritual. He has trained as a Pranic Healer and as a Dowser. These spiritual studies have included the study of crystals, earth energies, manifestation and lifestyle design.We know that you, like us, are fascinated by all the intangible things that make life magical